


JVCSPL
INSTALL GALLERY
INSTALL GALLERY
Have a look through the photo's as we take you along with us in our installation process.

Install Day 1
|

|

|
|
|
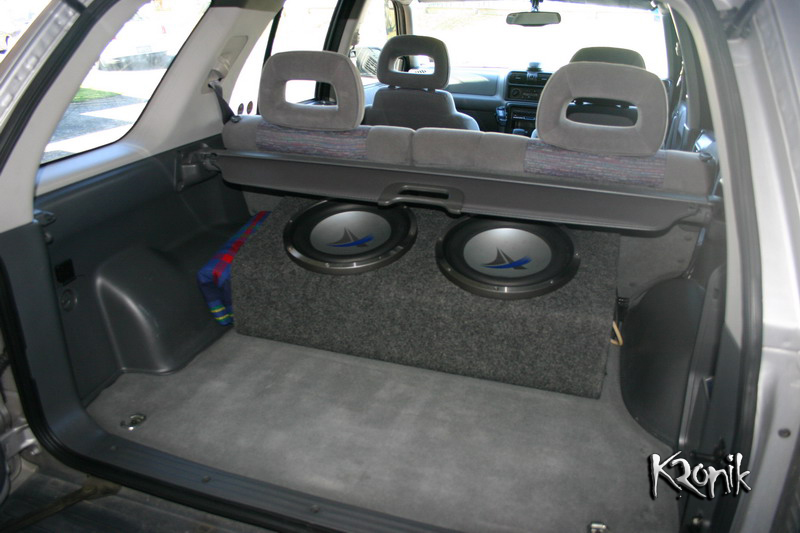
The gear that was originally in the truck.
|
All cleared out, ready to start.
|
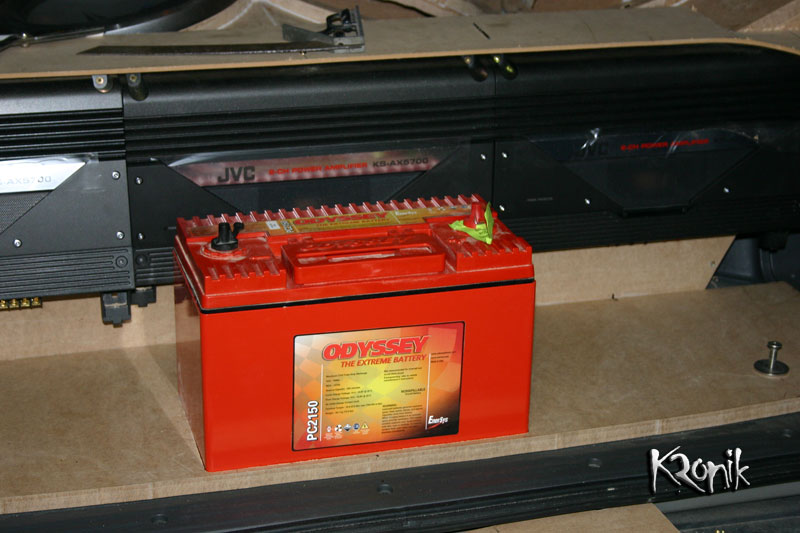
Laying out the amps and battery.
|
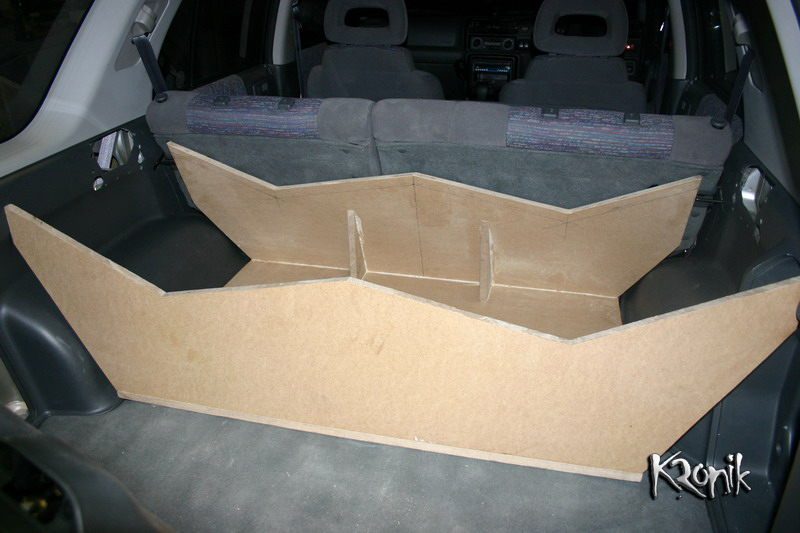
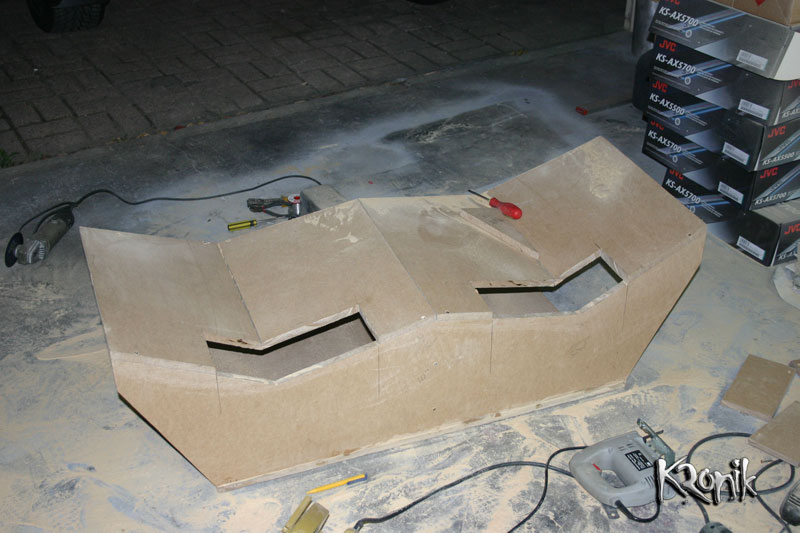
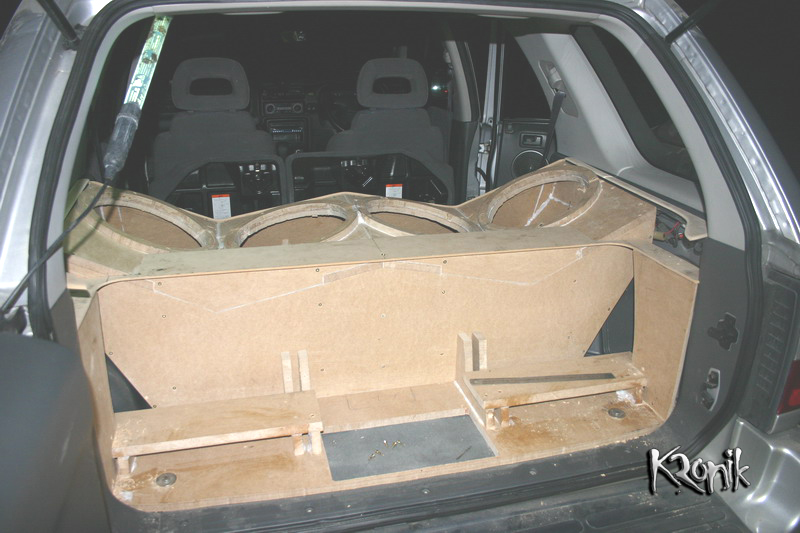
The start of the sub enclosure.
|
Install Day 2
|
|
|
|
|
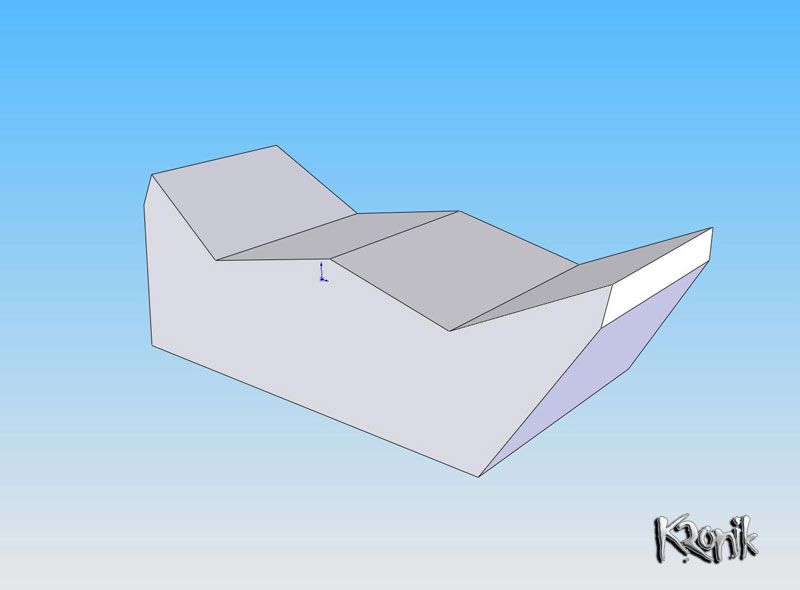
The sub enclosure drawn in CAD, so we can get
an accurate size.
|
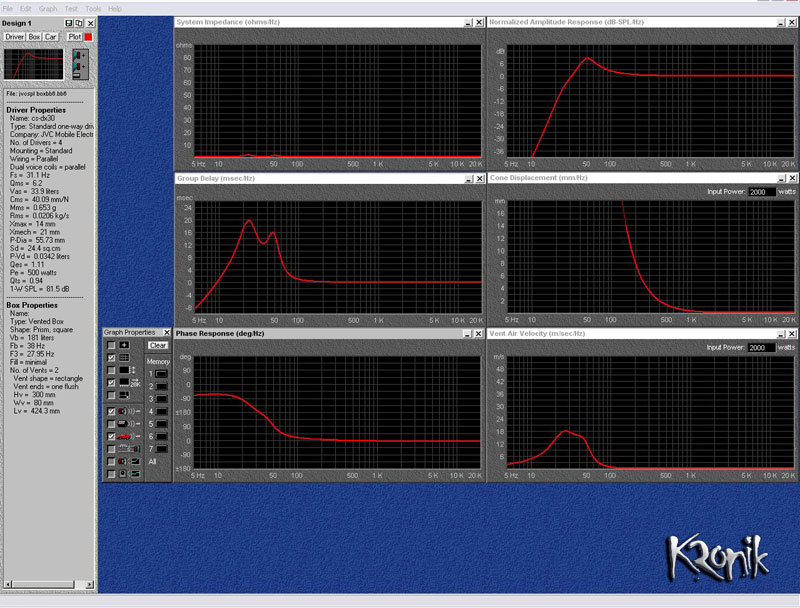
The sub enclosure tuning was calculated using
computer software.
|
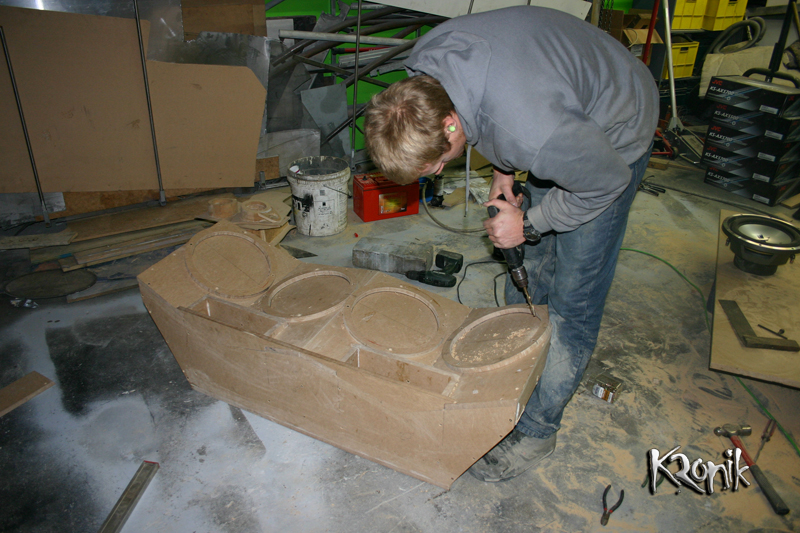
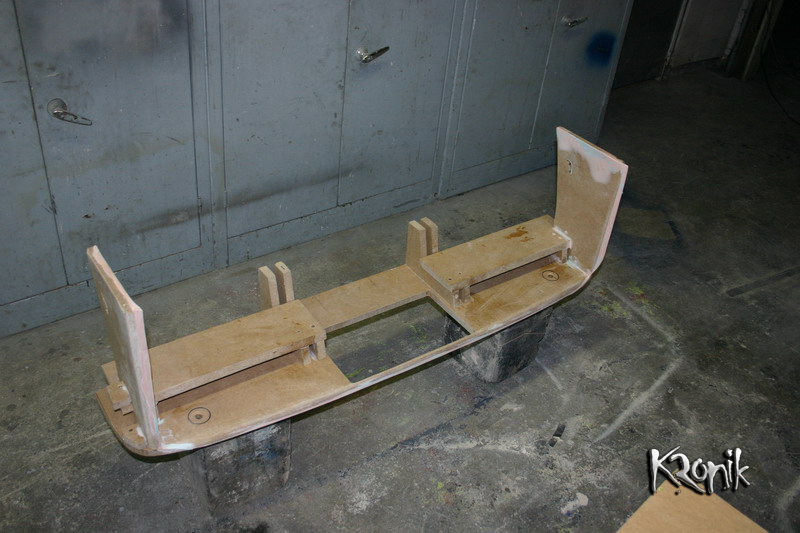
The sub enclosure during construction.
|
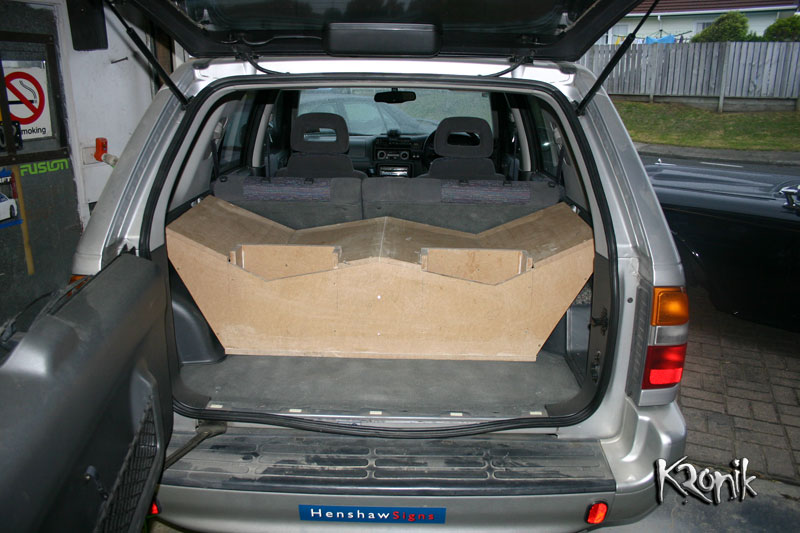
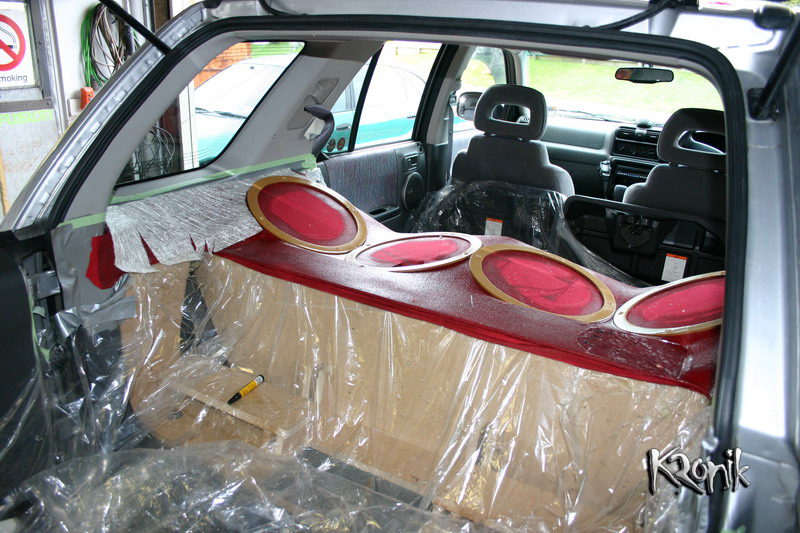
The enclosure getting a trial fit in the truck.
|
Install Day 3
|

|
|
Finishing off the enclosure.
|
The finished sub enclosure.
|
Install Day 4
|

|

|
|
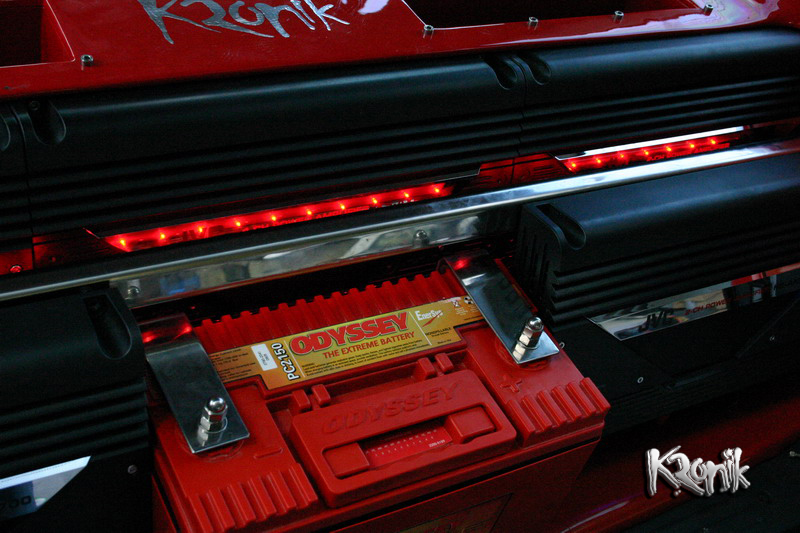
The battery sliding into the amp rack floor.
|
The final amp rack framing.
|
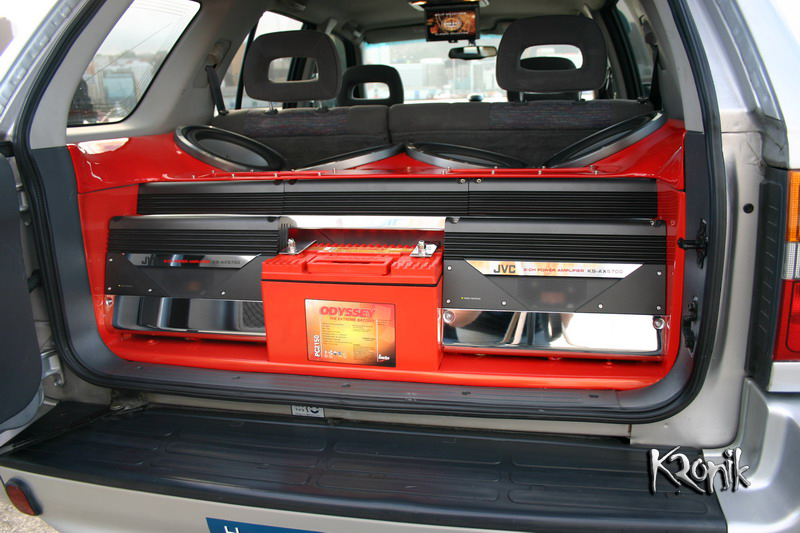
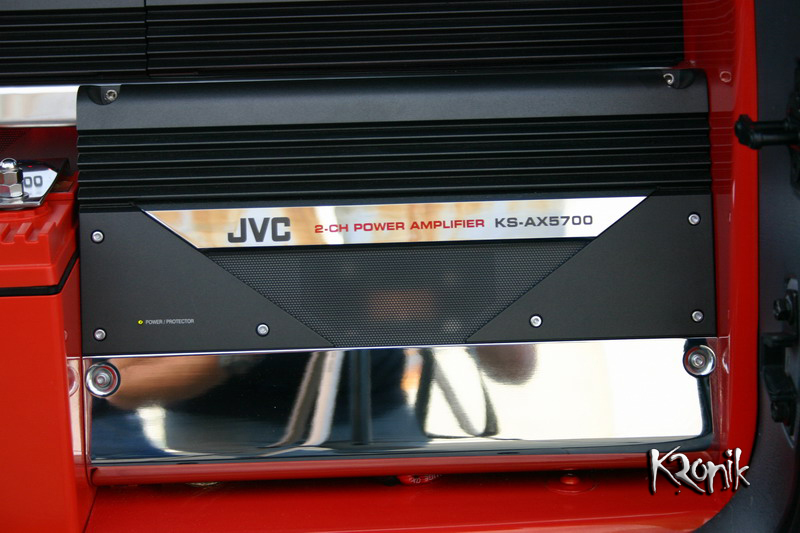
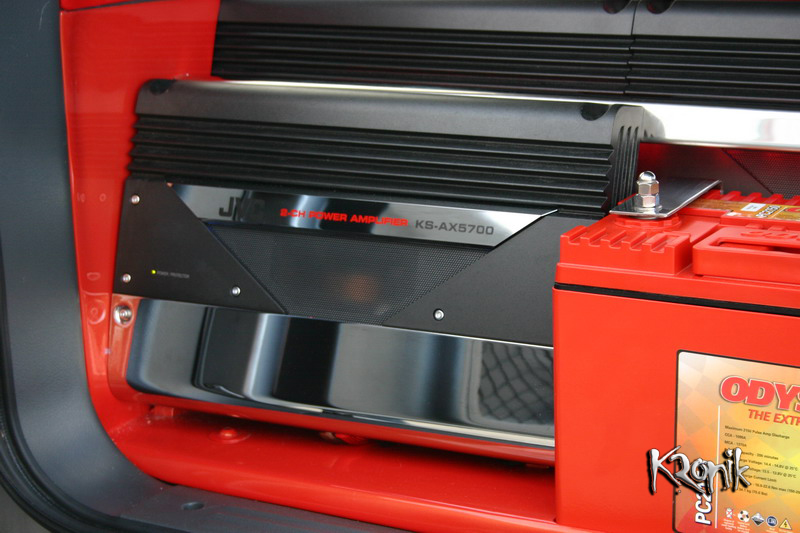
The amp rack.
|
Install Day 5
|
|
|
|
The finished install framing.
|
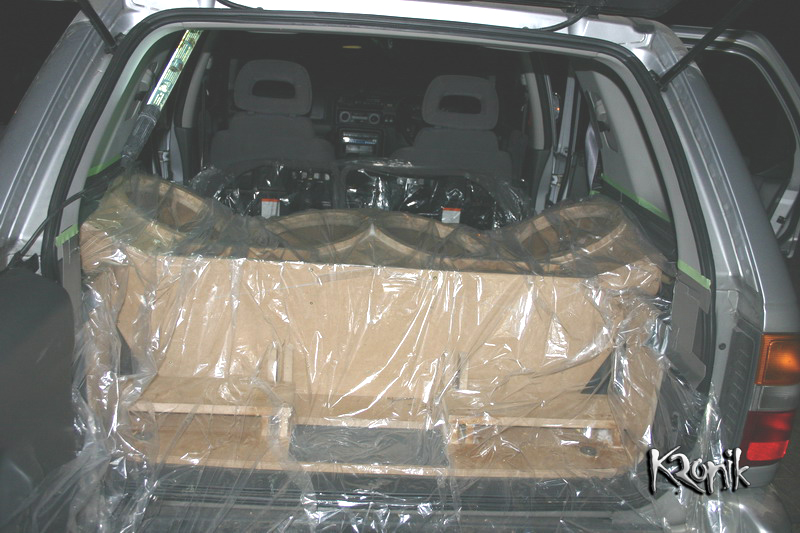
The install all masked up for glassing.
|
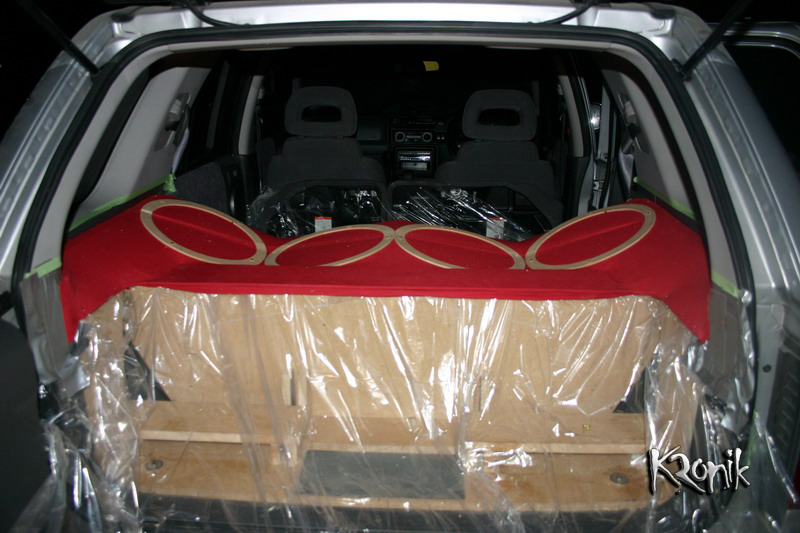
The first stage of the fibreglass trim panel.
|
Install Day 6
|

|
|
Stranded fibreglass matting being laid on the trim panel.
|
The trim panel fibre glassed.
|
Install Day 7

|

|

|
|
|
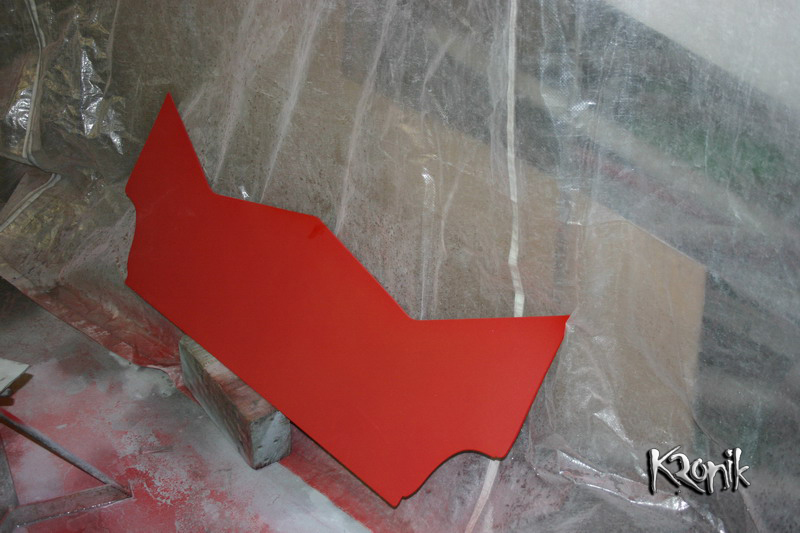
The front trim panel ready for paint.
|
The main trim panel ready for paint.
|
The sub enclosure ready for paint.
|
The amp rack ready for paint.
|
Install Day 8-9
|

|

|
|
|
The front trim panel after paint.
|
The main trim panel after paint.
|
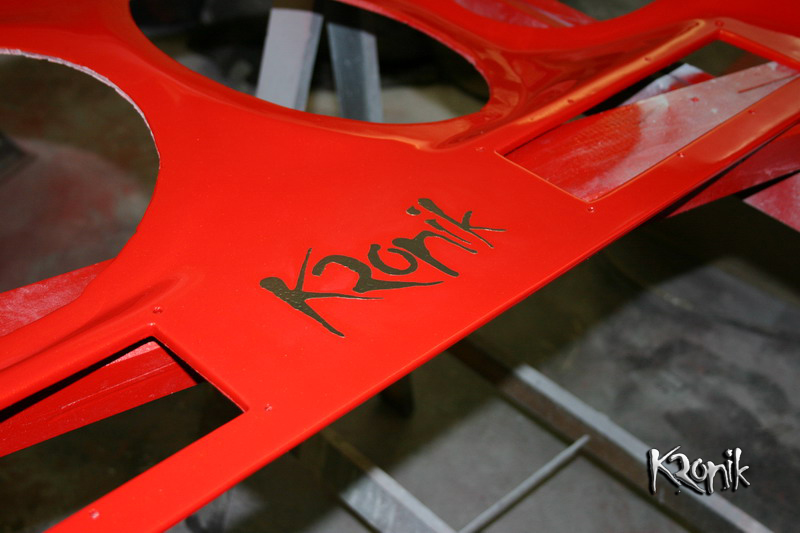
The amp rack after paint.
|
Close up of the Kronik logo in the paint.
|
Install Day 10-11
|
|
|
|
|
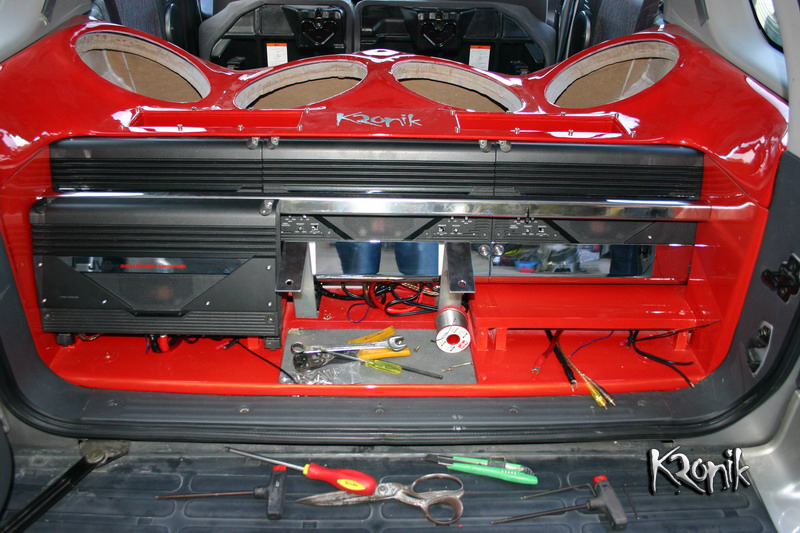
Starting to put it all back together.
|
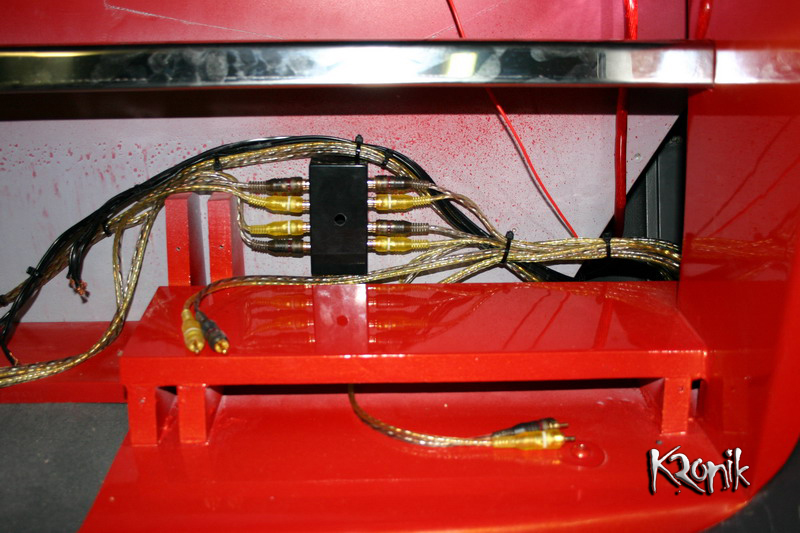
The RCA distribution box.
|
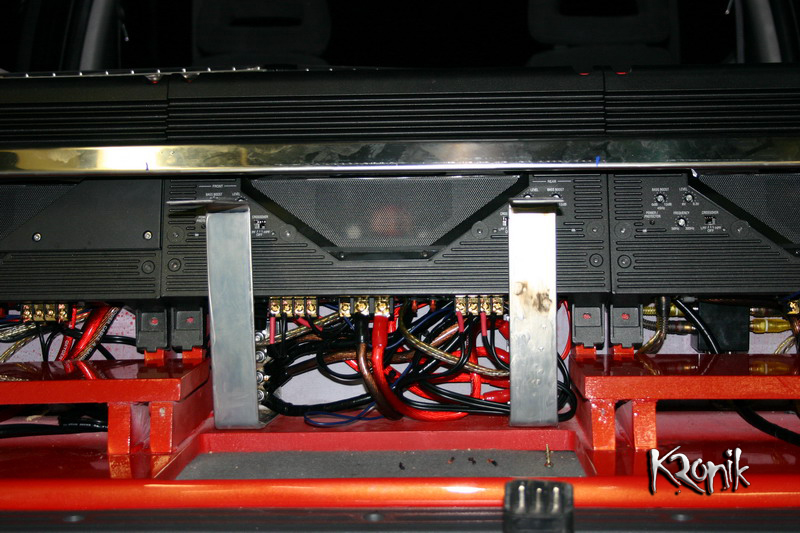
The wiring.
|
Getting close.
|
 |
|

|

|
|
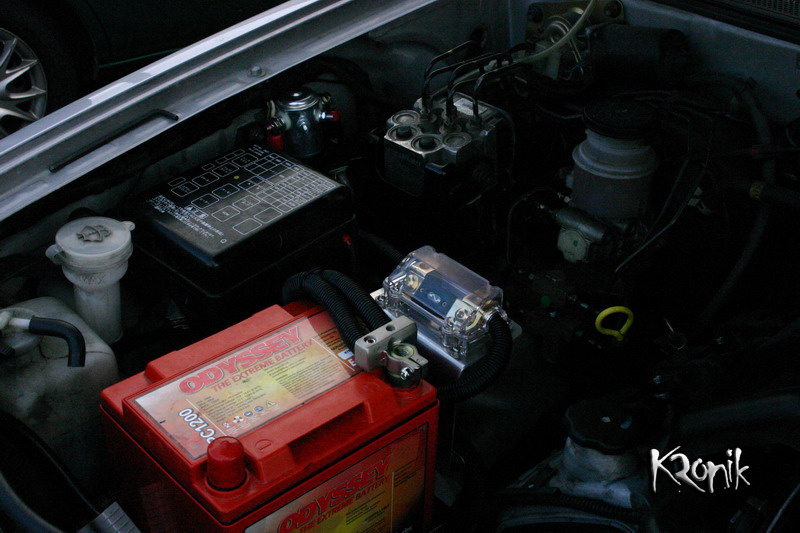
An Odessey battery goes in up front.
|
The Odessey battery that powers the ICE.
|
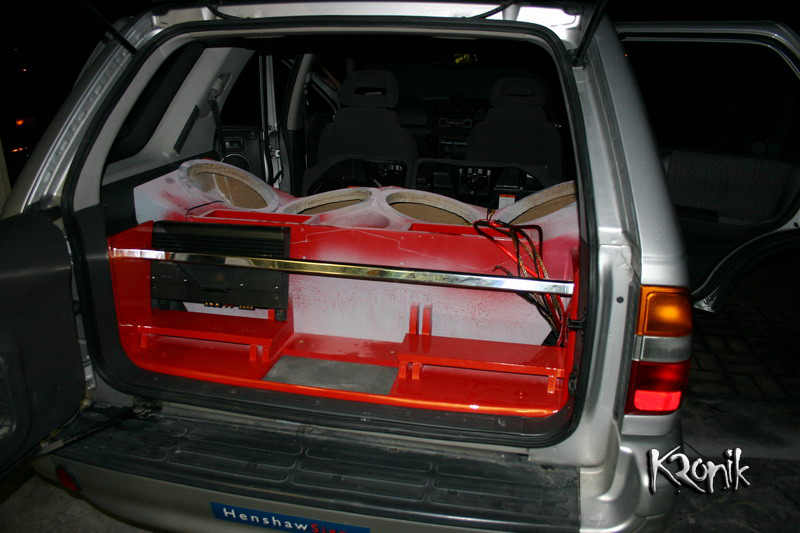
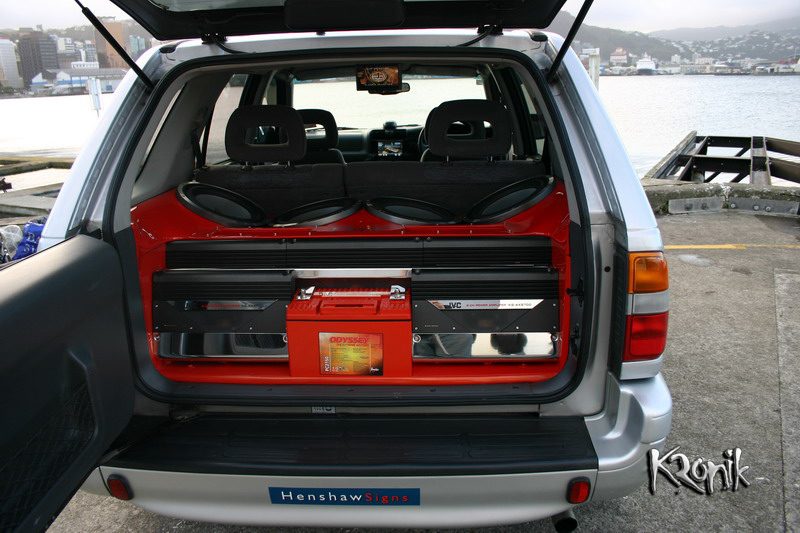
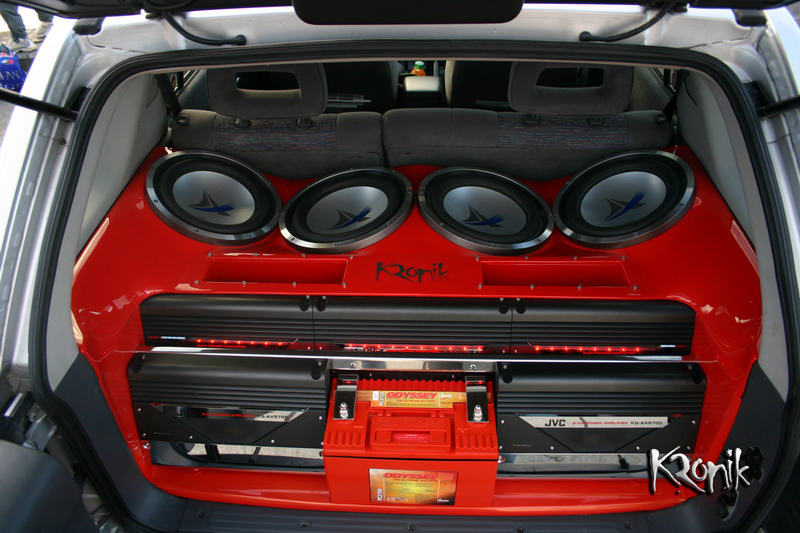
All ready to fire up.
|
145.3dB after a quick tune.
|
Install Day 10-11
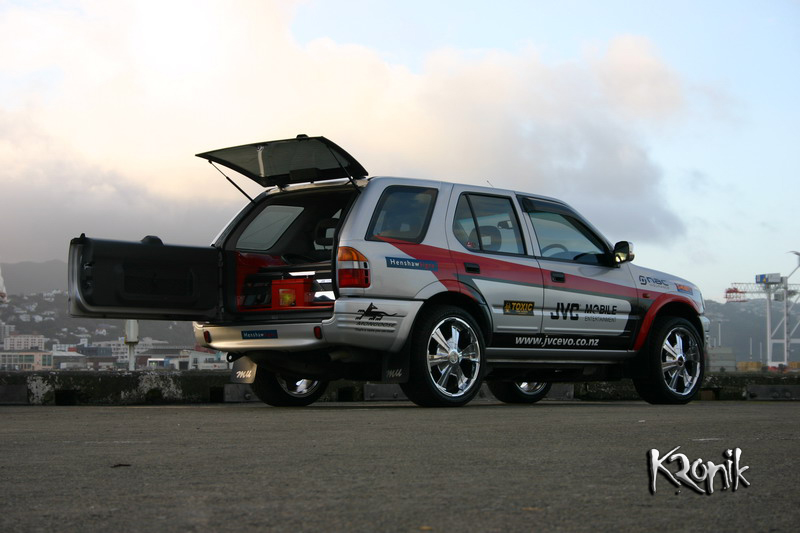
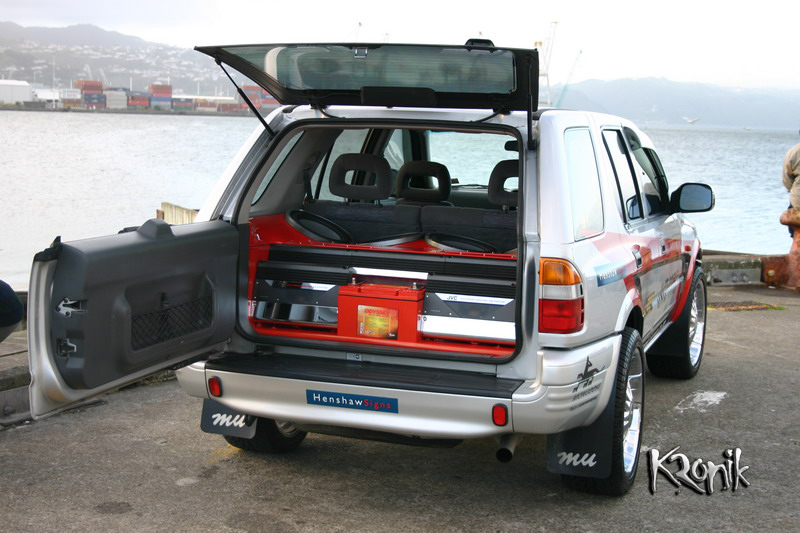
All there was to do was to give it a clean and take some photos.

|

|
|
|
|
|

|
|
|
|
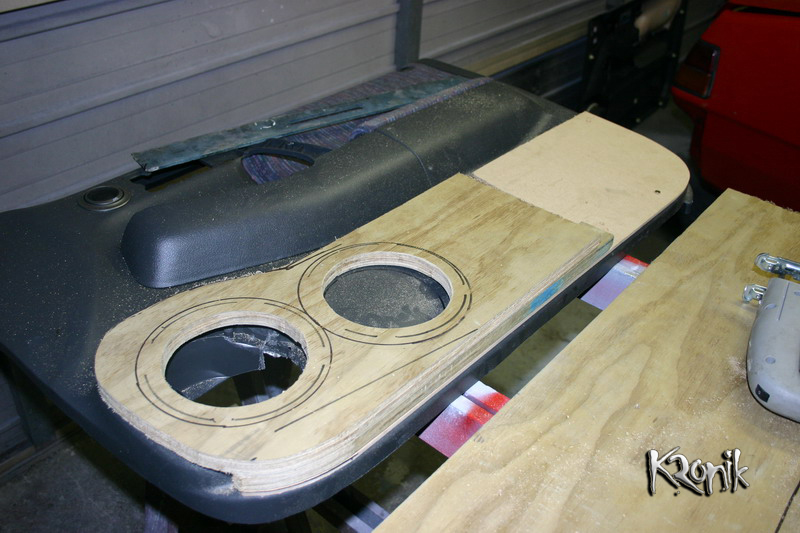
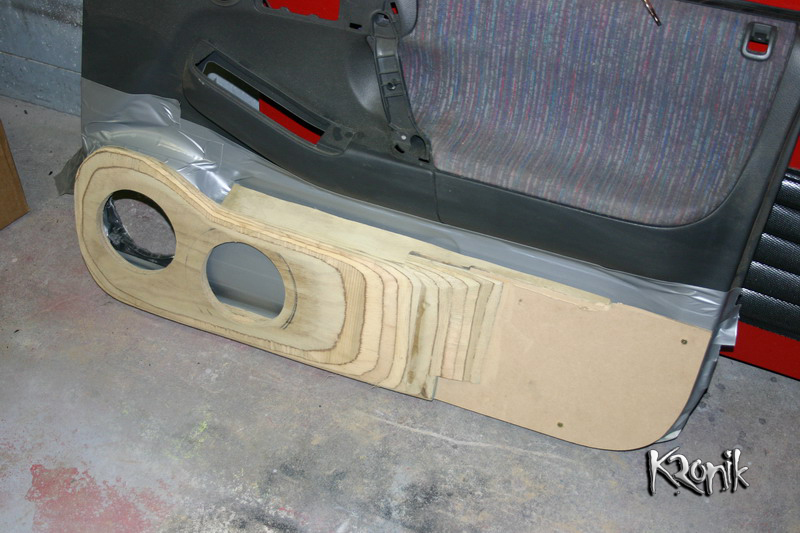
The car came back for door pods
|
|
|
|
|
Ply is cut to shape
|
The pods get checked for shape.
|
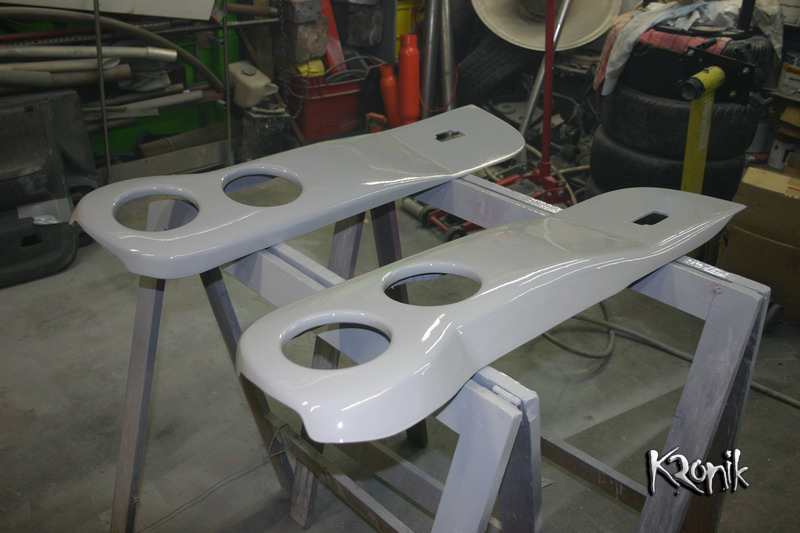
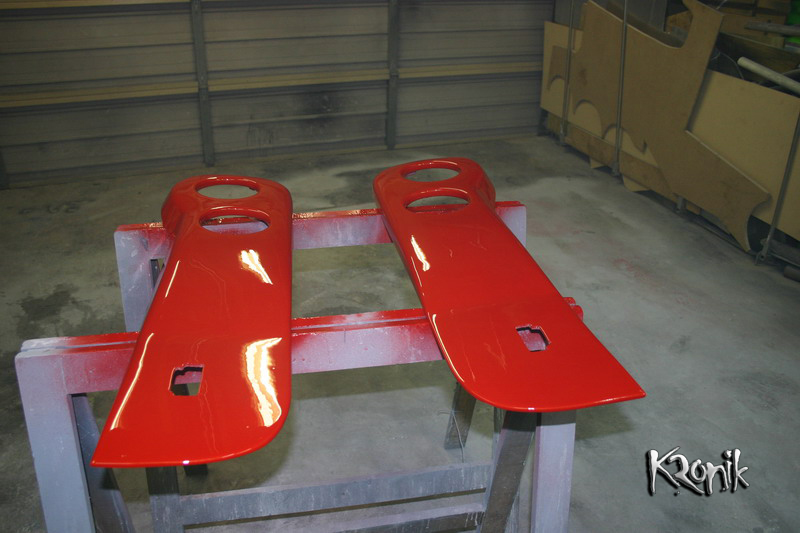
All primed up.
|
After the top coats.
|
 |
|
|
|
|
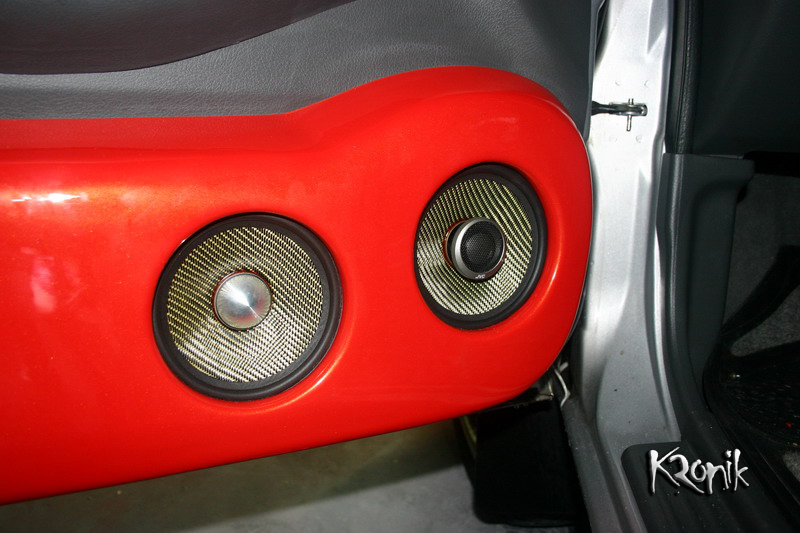
Close up.
|
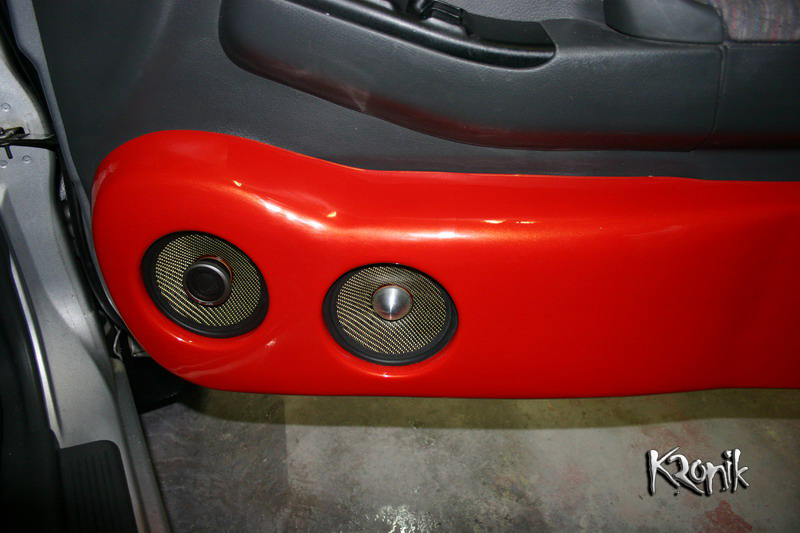
Mid Shot.
|
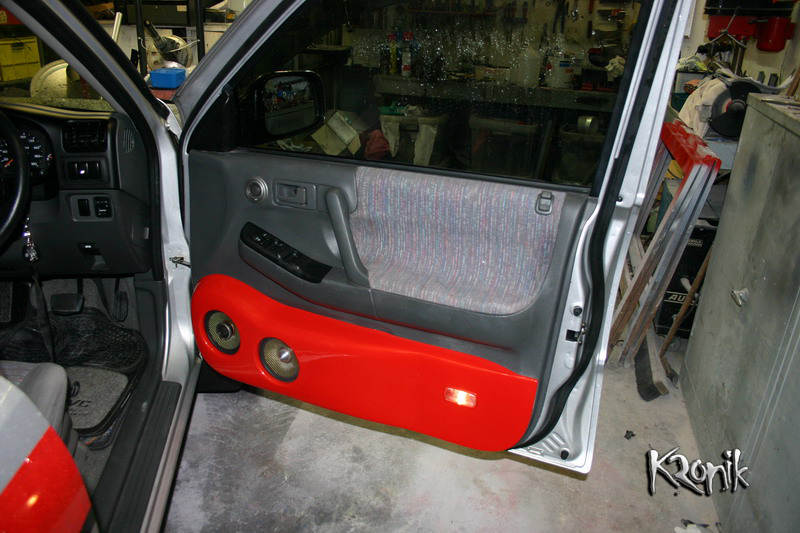
The pod on the drivers door.
|
|

| © COPYRIGHT 2006 Kronik | Site design byKronik | Terms & Conditions |